
Testing your cat’s blood glucose levels at home can be a crucial part of managing feline diabetes effectively. It allows for close monitoring of the cat’s glucose levels, helping to adjust insulin dosages accurately and to ensure your cat maintains a healthy level of activity and diet. Here’s a detailed, step-by-step guide to assist you through the process.
Step 1: Gather Your Supplies
Before you begin, make sure you have the following items:
- A glucometer designed for cats or a pet-specific glucometer. Human glucometers can be used but be aware of potential differences in accuracy.
- Test strips compatible with your glucometer.
- A lancet or lancing device.
- Cotton balls or gauze.
- A treat or a way to calm your cat, making the process as stress-free as possible.
Step 2: Prepare Your Cat
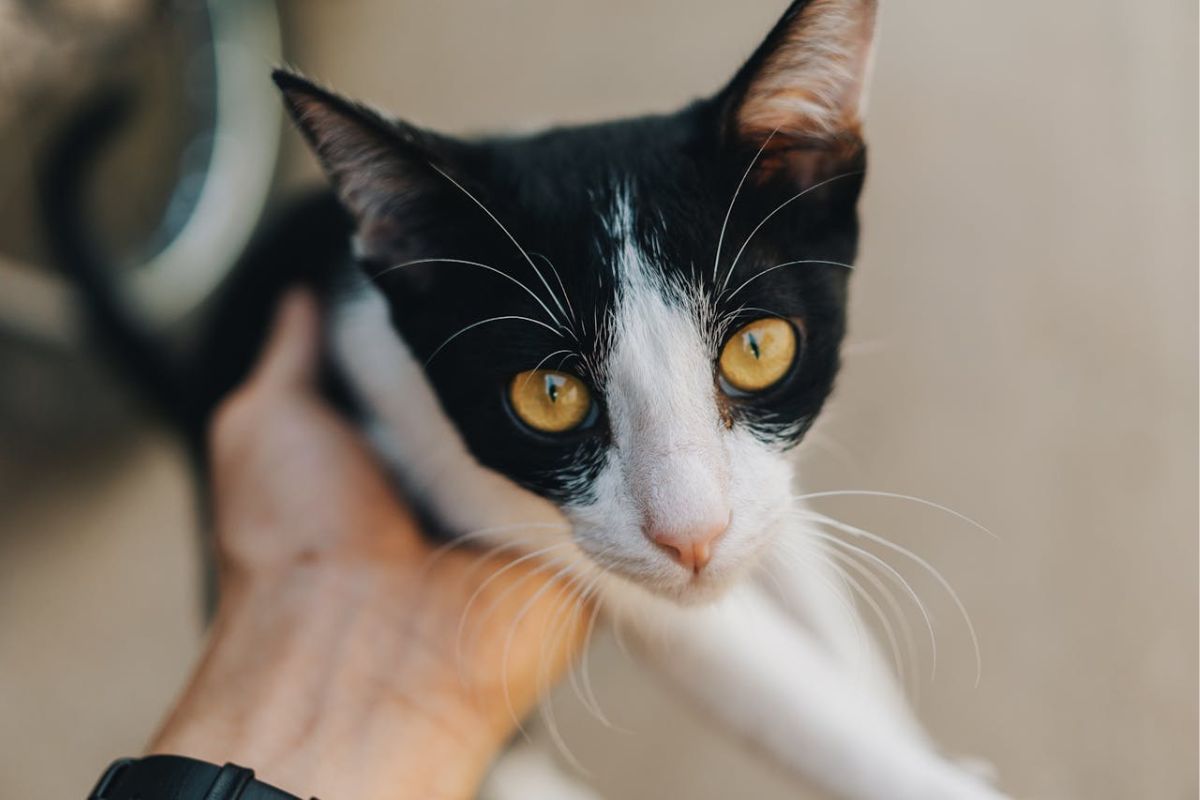
Choose a quiet, comfortable spot where your cat feels at ease. It’s important to keep the atmosphere as calm and reassuring as possible to avoid stress. You might pet your cat to soothe them or offer a small treat. If your cat is particularly anxious, consider wrapping them gently in a towel, leaving the ear exposed since you’ll likely be drawing blood from there.
Step 3: Prepare the Glucometer and Lancet
While your cat is calming down, turn on the glucometer and insert a test strip. Make sure the glucometer is ready to read a sample. Then, get the lancet ready. If using a lancing device, adjust the depth to the shallowest setting that allows you to get a blood sample. This minimizes discomfort for your cat.
Step 4: Obtain a Blood Sample
The marginal ear vein is a common spot to obtain a blood sample because it’s relatively easy to access and less painful. Gently warm the ear with your hand or a warm cloth to increase blood flow; this makes it easier to obtain a drop of blood. Holding the ear firmly, quickly prick the vein with the lancet. A tiny bead of blood should form.
Step 5: Use the Glucometer
Immediately after pricking the ear, bring the test strip (already inserted in the glucometer) to the drop of blood. Most glucometers will automatically absorb the correct amount of blood needed for a reading. Hold the strip in the blood drop until the glucometer beeps or indicates it has enough blood to make a measurement.
Step 6: Record the Results
Once the glucometer provides a reading, record the result along with the date and time. Keeping a log of these readings is crucial for monitoring your cat’s diabetes and will be invaluable for veterinary visits.
Step 7: Reward Your Cat
After you’ve obtained the reading, press a cotton ball or gauze against the prick site on the ear until any bleeding stops. This usually only takes a few seconds. Following this, reward your cat with lots of praise, cuddles, or a treat. This helps create a positive association with the process, making future testing easier.
Additional Tips
- Practice makes perfect. The more you perform blood glucose testing, the more comfortable you and your cat will become with the procedure.
- Consult with your veterinarian about the best times to test your cat’s blood sugar and the target ranges for your cat. These can vary based on individual health status and the specific insulin being used.
- If you’re having trouble obtaining a blood sample or your cat seems particularly distressed by the process, seek advice from your vet. They can offer tips or suggest alternatives.
Regular at-home blood glucose monitoring is a powerful tool in managing your cat’s diabetes and can significantly contribute to their health and well-being. With patience and practice, it can become a seamless part of your routine.